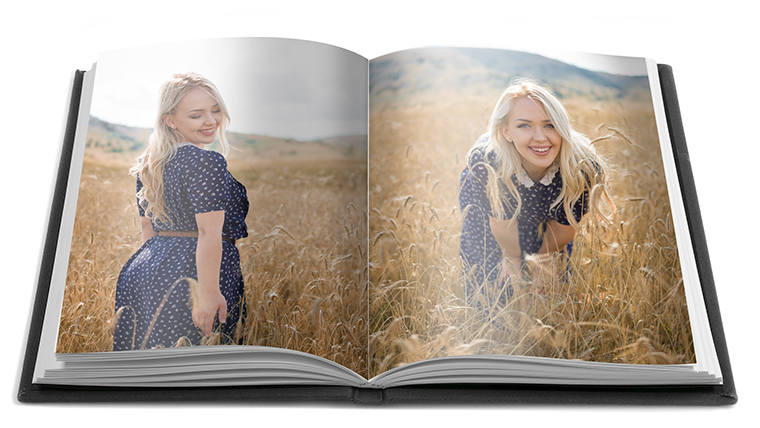
In the old days, you’d have boxes and albums brimming over with photos. They’d be stacked on top of one another in your hall closet teetering over and about ready to fall on the floor, which also serves as the first time they’ve seen the light of day in years.
These days, shoeboxes and hallway closets have been replaced with thumb drives and cloud storage, but the problem of storing our photos and rarely seeing them again is still pretty prevalent. Rather than let our best photos disappear into the “Images” folder forever, more of us ought to be putting these photos on display in some way.
The problem is scrapbooks and framed images hung on our walls can only be done so much before this too becomes too repetitive. To get the most out of our best photographs, we have to think outside the box…
1. Photos on Glass
One interesting way of creatively displaying our best photos is with photos printed on glass, which can be placed in a variety of settings both at home or in a place of business. It’s worth noting some of the first forms of photography used panes of glass as the medium onto which the exposure would form an image. In many ways doing this today is carrying on a family legacy going back over a century – the glass-bound photograph. Only these days instead of being limited to a relatively small pane, photos on glass can be formed in several sizes.
2. Photos on Blankets
Another fun way to utilize our best photos is to have them printed on blankets, door mats, etc. While portrait style photos and selfies often wind up making the subject look deformed when printed onto fabric, it serves as a great medium for the photos we take of nature, landscapes, while traveling, et cetera.
3. Timelines
If you have been thinking to yourself, “I don’t know what to do with our best photos,” a timeline photo grouping of each family member would be one way to use a variety of pictures at the same time. Starting from infancy up until the present time, and then continuing on with pictures after that, is a fun way for children and you to participate in a picture activity.
Find scroll-like paper that is heavy enough to be hung on a wall, or use a long and narrow painted piece of wood. Start the timeline from the birth date and choose favorite childhood pictures and events to display on the progression of the timeline. Use die-cut paper frames to enclose the pictures and place them on the timeline.
Use captions, numbers, stick-on arrows and scrapbook-style raised stickers to embellish the timeline. Interchange pictures of the same time period in order to display a variety of pictures. Along the same lines, a family tree type of picture presentation could be done.
4. Reserved for Royalty
Use a high-quality print of a special family member, friend, relative or beloved pet. Mount your selection in an ornate yet classic gold frame. Hang the frame in a spot in your home designated as, “Reserved for Royalty.” Create a small plaque to place under the picture that cites the best attributes of the person. Rotate the picture every few weeks with other family members and relatives (the ones you like), treasured friends or your lifelong pet dog or cat. It’s a good way to get to know distant family members and others.
These are just a few suggestions for some of your best photos but there are many other ideas that most anyone can come up with to use photos that are just going to waste in boxes or on flash drives. Drag them out of hiding and find a spot in your home to display them, even if it’s in a magnetized frame on your refrigerator door, or through a photo printed on your child’s favorite blankie. Don’t let your pictorial memories be forgotten.


