The average American family spends 7.7 percent of its combined earnings on household expenses. This includes items like furniture, big and small appliances, cleaning supplies and services, as well as home decoration accessories or furnishings. You might spend more if you change the interior decorations of your home all the time. But can still save up on your next home design project. You only need to consider making home accessories by yourself. This includes soft furnishings like curtains, cushion covers, chair coverings, and other fabric accessories. Here are several tips that you can follow to make your own soft furnishings for your home.
DIY Window Furnishing Ideas
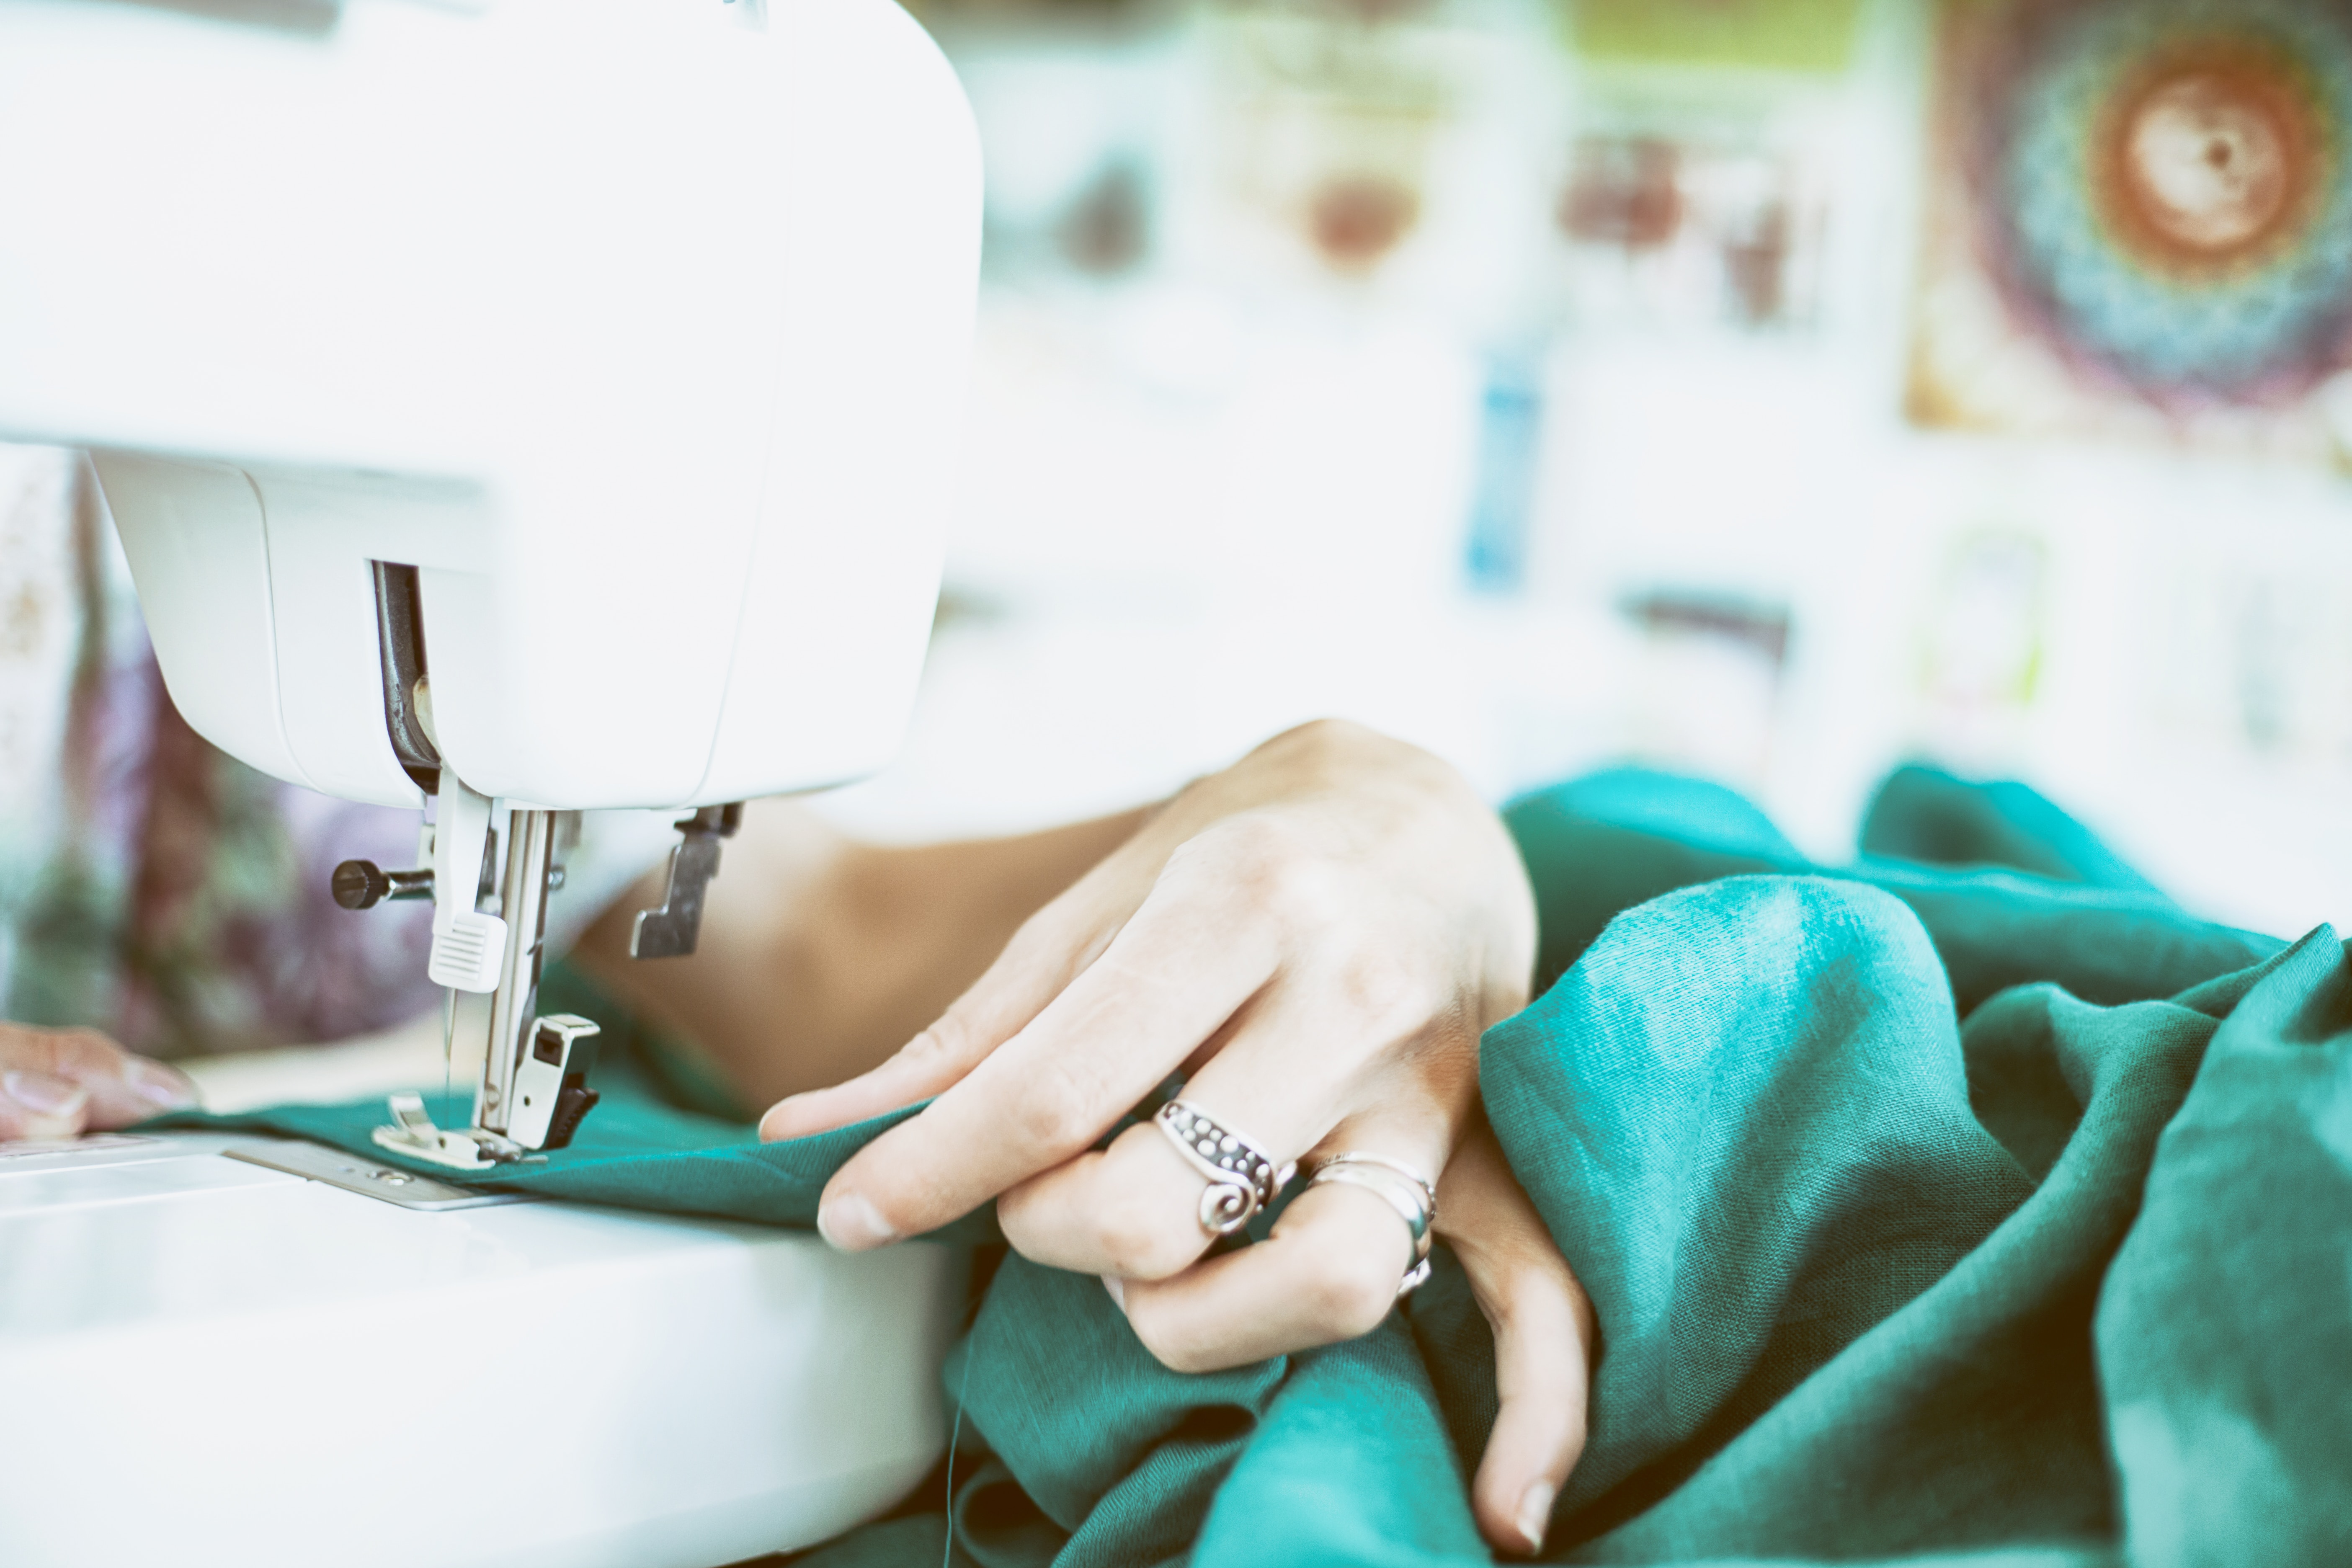
The most versatile window furnishings that can help transform your home are curtains and drapes. Hanging these inside your home can give an instant lift in the appearance of any room. But buying a new set of curtains may cost between $100 to $250 per panel. This can even reach as much as $1,500, depending on the design that you choose. But if you know how to make your own soft furnishings, you will be able to save a lot on home decoration expenses. You only need a dependable, easy-to-use machine, any type of fabrics that you want to hang in your home, as well as a basic knowledge of how to sew.
If you have an existing plain sheer curtains, you can easily give it a design lift by stitching it with a different type of fabric. This will instantly give it an updated look without spending a lot. All you need is your old but still useful sheer curtain panels, at least two types of burlap, a sharp pair of scissors, a measuring tape, and your trusted sewing machine. You can start by measuring your ideal curtain length, how long you want the top border to be, and the measurement of your sheers. You must also include the calculation of the seam allowances when measuring the curtain.
Once the measurements are done, you can begin cutting the burlap. The length of the first burlap must be half a size wide as your window. Seam allowances should also be measured. Then cut your patterned burlap according to the width size of your plain burlap. You can start sewing the right sides of these fabrics together. The long raw edges of the plain burlap must be sewn to the raw long edge of your patterned burlap. Allocate a 1/2 inch seam allowance. But if you plan to use a printed burlap, make sure the print is on the right side up when sewing the fabrics together.
After sewing, you can open up the burlap and press around the seams. This will serve as the top part of your curtain. Then turn over 1/2 inch of burlap along the wrong side of the top long length of your plain fabric burlap. Sew it all together for a finished seam.
Then get an estimate of the length of your the sheer curtain that you need to use, and add 1/2 an inch. Cut it to your desired length. At least two sheers will be needed to make one curtain panel. Stitch a long seam 1/2 inch under the top of the sheer curtain. Then assemble the curtain and pin the right sides together with the border if the printed fabric. Remember, you only need to pin it to half of the curtain’s width. Repeat the instructions to create the second sheer panel, then gather both panels and pin them to the edge of the right side of your printed fabric. Sew these panels together with at least 1/2 inch seam allowance. Press before hanging on your window.
DIY Cushion Cover
Brightening up your room does not need to be a challenge, especially if you know how to create your own cushion cover. You only need to prepare a cushion pad, your tape measure or a straight ruler, pen, pencil and several sheets of paper, pins, a sharp pair of scissors, thread and needle, the fabric of your choice, and your iron. You can start making your cushion cover by cutting a square piece of paper with the same measurement as your available cushion pad. Then cut other pieces of paper into two other squares. The second one must have similar width to the other square paper but should be half its height. Then the third square must also have the same width and has a height that is equivalent to three-quarters of the first square.
Using a hot iron, firmly press the fabric all throughout before cutting. This is an important step to remove any creases. Take note, just a portion of creased fabric will result in slightly different shape and size once pressed.
Analyze the pattern of the fabric that you want to work with and select which section to use as the frontal design of your cushion. After choosing the part of the pattern, you can already spread the first square paper on its upper portion. Use pins to secure all the corners of the fabric then cut it all over. You also need to pin the two remaining paper squares to the fabric of your choice and cut your way around them. Stitch one long edge on each piece. You must put the fabric down firmly on its right side, then fold it in one long edge by at least 5mm. Press the fabric to make sure that the fold will stay in place, then fold over by another 5mm. Press using your hot iron and backstitch from the edge by at least 2mm.
After that, you must put the front portion of your cushion cover project on a secure, flat area. Its right side needs to be facing up. Put the smallest paper pattern of the cover’s back portion on top, its right side should be facing down. Then assemble the still unsewn long edge together with to top border of the cushion cover’s front area. Stitch the third square, with the right side of the fabric facing down. You must arrange the open long edge together with the bottom edge of the first piece, then pin at all the corners. You must also pin at least once on all the edges.
Sew using the backstitch technique all over the project, with at least 10mm away from the edges. Then turn the project inside out with the help of the slit that can be found at its back. Check if everything looks properly maid, then rotate the cover again inside out. Cut all corners off by around 2mm from the portion of the stitches. To finish the project, you must turn the cushion cover project back to its right side. You can use a pen, pencil or anything long and thin like a chopstick to push out all the corner of the project carefully. It must at least have 90-degree angles. You can now start stuffing the cushion pad inside the cover so you can begin putting it on your sofa.


