It’s a rainy afternoon and the kids can’t go outside to play. Whatever are you to do? That’s what this series of articles is all about – fun craft ideas you can make with your kids! We’re going to stick to inexpensive crafts that your kids will not only enjoy making but that they’ll also like having. This isn’t just junk that will collect dust on a shelf. I hope you’ll find some crafts you like. Let’s start off with a fun pony bead keychain you can make quickly, easily and inexpensively.
How to Make a Lizard out of Pony Beads: The Materials
This is one of my personal favorites. You can pick up all the materials you’ll need at the local craft store and teach your kids how to make these fun key chains for themselves or for their friends. They make great gifts or look great on backpacks for school. To start, you’ll need to following items:
- Two yards of string, ribbon, embroidery thread, twine or yarn
- 1 keychain ring
- 36 pony beads for the main body color
- 2 pony beads for the eyes
- 12 pony beads for the feet
- 8 pony beads for the accent color on the body
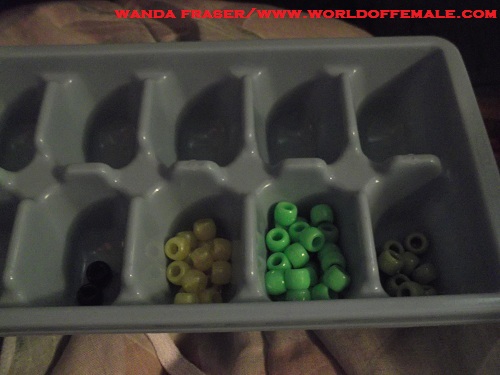
- 1 ice cube tray or bowl
You can use any colors you like for your lizards and you can use pretty much any type of string. For this tutorial I’m going to be using a light green bead for the body of the lizard, purple beads for the eyes, yellow beads for the feet and a different shade of green bead for the accent color on the body. I’m also going to be using white shoelace for my string. I like using shoelace for this particular project because it makes the finished product a little stiffer but you can use anything you like. Finally, I choose to use an ice cube tray to hold my beads while I’m crafting because it allows me to keep the beads separate but you can use a bowl if you don’t have an ice cube tray available. Anything that will keep the beads from rolling around on your work surface will be fine.
How to Make a Lizard out of Pony Beads: The Step by Step Tutorial
To get started, I’d recommend gathering all of your materials together and doing a quick count to make sure you have all of the beads you’ll need. For this one, I have 36 light green beads for the body, 2 purple beads for the eyes, 12 yellow beads for the feet and 8 olive green beads for the accent color on the body. You can use whatever colors you’d like to use. Just make sure you have enough beads before you get started. Have your materials ready? Let’s start.
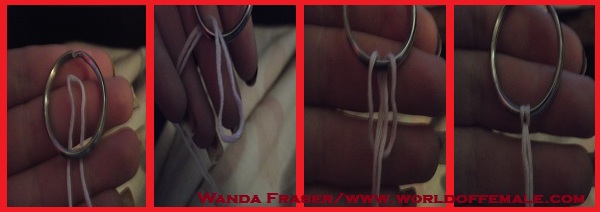
Step One: Secure your thread to a metal keychain ring.
Measure out two yards of the string you’ll be using for this project and cut the string. Find the center and fold the sting in half at the center point. This leaves you with the two ends touching with a loop at the top. Pull the loop into the center of the keychain ring and fold it down over the ring leaving a loop hanging down over the bottom. Hold end ends together and pull them through the loop you’ve left below the key ring. Pull the ends down until you have a tight knot.
*I’m using embroidery floss for this first step as an example only. I’ll be using shoelace for the rest of the tutorial.*

Step Two: Thread one body bead onto your string.
To thread a bead onto the string, you’re going to take your right string and thread it through your bead. Pull your bead about halfway up your right string.
Step Three: Finish threading your first bead onto your strings.
Take your left string and thread it through the bead on your right string as I’ve done in the photo above. Pull your right string left and your left string right until your bead sits snugly against the knot at the top.
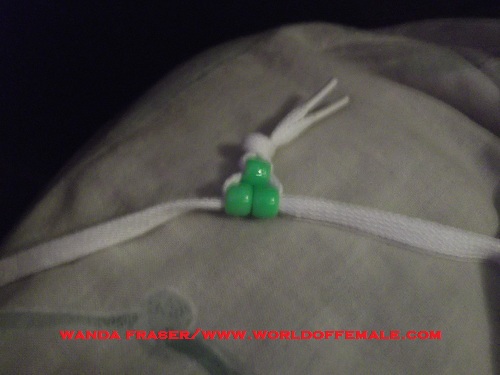
Step Four: Thread two body beads onto your string.
Thread two body beads onto your right string and pull them halfway up your right string. Thread your left string through both of the beads on your right string. Pull the strings tight until your second row of beads is sitting snugly against the first. If the second row isn’t sitting centered with the first bead, pull the beads on the second row back slightly to loosen the row then alternate between pulling the left string and the right string until everything is centered. You want to make sure you have the right pattern now. It will be very difficult to fix little mistakes once you get further along in the product.
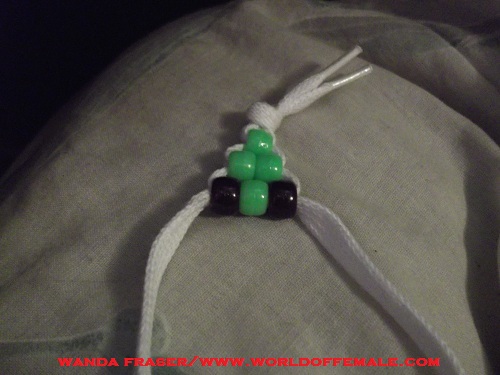
Step Five: Add your lizard’s eyes.
Use the same procedure we used in steps two and three to thread one eye bead, one body bead and another eye bead (in that order) onto the string. Pull them snug against the second row. Make sure your work is following the right pattern.
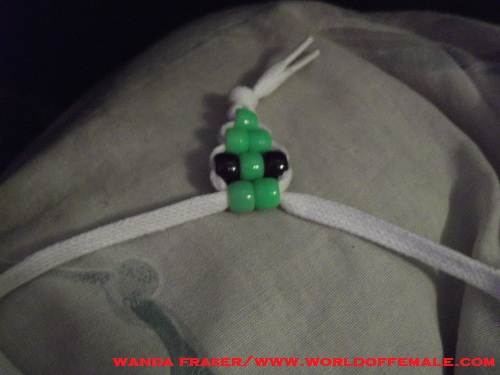
Step Six: Start threading your lizard’s neck.
Using the same procedure you used in steps two through four, string two body beads onto your string, This forms the beginning on your lizard’s neck.

Step Seven: Finish threading your lizard’s neck.
You’re going to be using the same procedure again to thread two more body beads onto your string for the end of your lizard’s neck.
Step Eight: Add your lizard’s right leg.
This is important so I’ll repeat it – only slide the beads for this step onto the right string. We’ll be using these beads to make your lizard’s front right leg. Slide two body beads onto the right string first and then slide three hands beads on next. Slide the beads close to the last row of neck beads (the beads you added in step six).
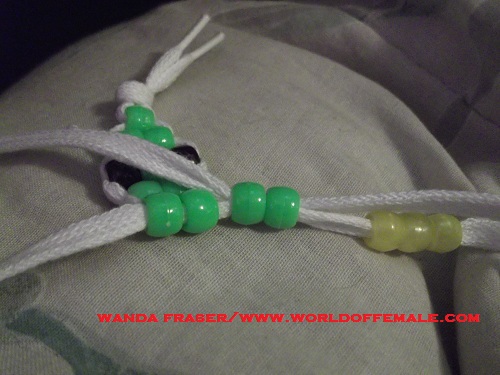
Step Nine: Finish threading the right leg but don’t pull the string tight just yet.
To finish threading the leg, you’ll be threading the end of your right string back through the two body beads you added for the leg. Thread your string through the leg body bead on the right first, threading from right to left. Once you have your string through the right leg body bead, thread your string through the left leg body bead, again threading from right to left. When you’re done, the thread and the beads should look like the image above. Do not pull the string tight yet!

Step Ten: Finish off the right leg.
Slide the beads down the string so they rest snugly against the neck beads you added in step six. Arrange your foot beads as you want them to sit and pull the right string tight, stopping to adjust the foot beads if you need to.
Step Eleven: Thread the left leg.
Slide two body beads and three foot beads onto your left string (left strong only) and repeat steps eight and nine. The only difference here is that you’ll be threading your string from left to right when you’re threading back through the leg body beads for the left leg.
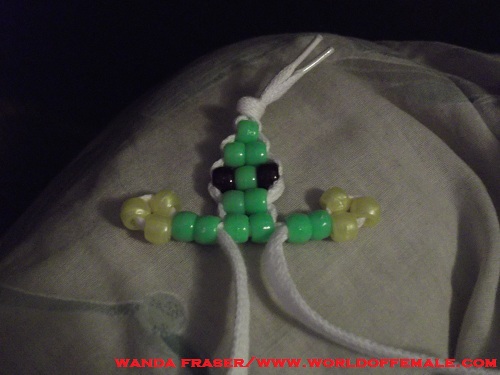
Step Twelve: We’re back to threading beads as we start on our lizard’s midsection.
Using the procedure we used in step two, thread one body bead, one accent bead and one more body bead (in that order) onto your strings. You’ll be using both the left and right strings for all three beads again. Pull your threads so the beads sit snugly against the last row of neck beads. The legs should now sit between the bottom of the neck and the top of the body as shown in the image above.
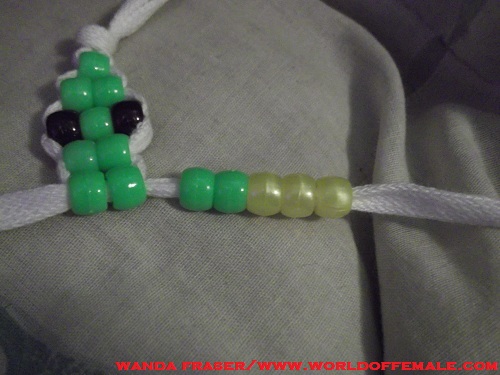
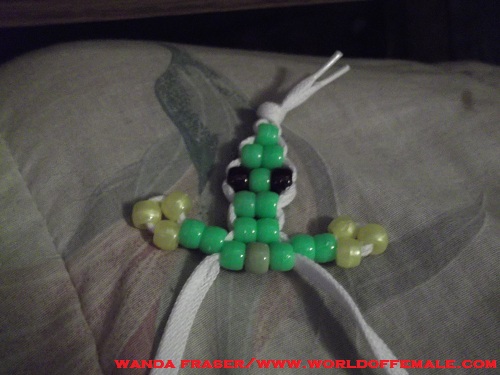
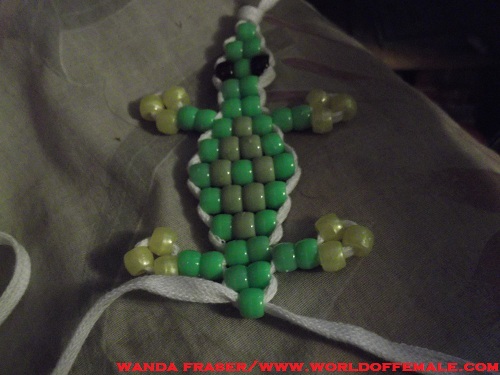
Step Thirteen: Thread the rest of the mid section.
To finish up the midsection of your lizard you’re going to follow the same procedure you used in step two and step eleven to thread five more rows of beads. The pattern you’ll be using is as follows:
- One body bead, two accent beads, one body bead (four beads in total)
- One body bead, one accent bead, one body bead, one accent bead, one body bead (five beads in total)
- One body bead, two accent beads, one body bead (four beads in total)
- One body bead, one accent bead, one body bead (three beads in total)
- Two body beads
Pull the strings to tighten each row before you move on to the next row. When you’re done, your lizard should look like what is shown in the picture above.
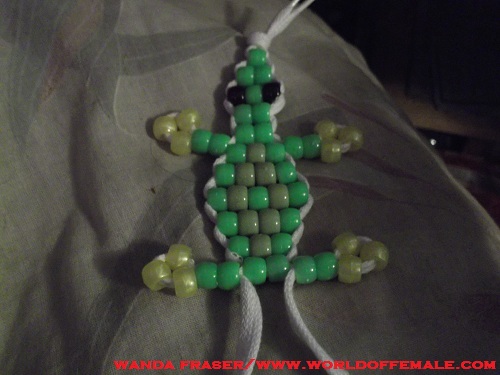
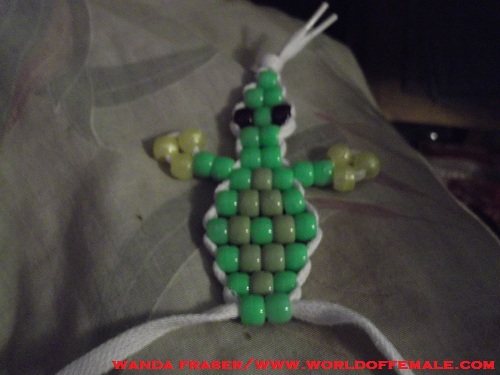
Step Fourteen: Add one more leg to the right and one more leg to the left.
Using the same procedure you used to create the front legs (steps seven, eight, nine and ten), thread the two back legs of your lizard. When you’re done, your lizard should look like the lizard in the photo above,
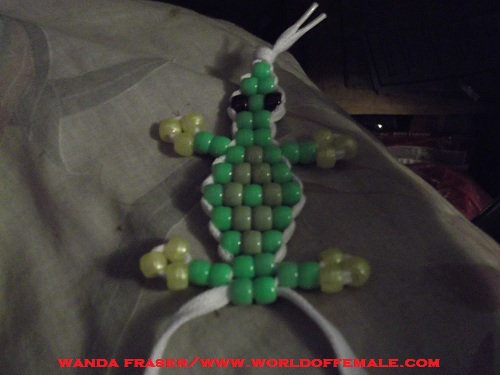
Step Fifteen: Now it’s time to start your lizard’s tail.
Using the procedure you used in step two, thread two more body beads onto your string to complete the body of your lizard.
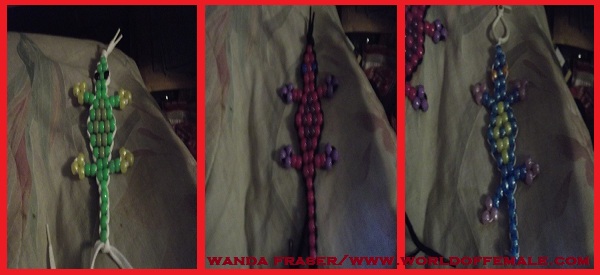
Step Sixteen: Finish your lizard by threading the tail.
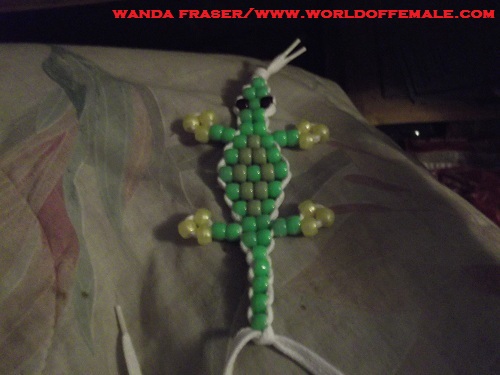
Follow the procedure you used in step two to thread single body beads onto the strings at the bottom of your lizard as shown in the photo above. Below you’ll see my finished lizards (on the left). I’ve used five beads for the tail and have finished off my lizard by double knotting the end. The lizard in the center was made following the same pattern but using different colors. Finally, the lizard on the right shows a lizard made following the same lizard but using different colors and embroidery thread instead of shoelace. Happy crafting!
Love the lizards but hate the idea of spending time making them? Order one and I’ll do the work for you! Want to order a lizard with custom colors or your child’s name beaded into the lizard? I can do a custom order just for you. Want to make one yourself but don’t want to buy a lot of extra materials? I also sell ‘lizard packs’ that come with everything you need to make your own lizards at home in any color you’d like. Send me a message by clicking this link for color availability and pricing information as well as a list of other animals or beaded items I can make.


